Configure an Azure Active Directory
Context
I am not a teacher, this is my own, an insignificant student, Aaron (Iso) Pescasio's notes.
To better understand Azure Active Directory, I decided to create my own tenant and set up an Azure AD lab.
This allowed me to explore Azure AD features, such as user management, synchronization with an on-premise Active Directory, and integration with cloud applications.
This guide details the steps I followed to configure an Azure AD tenant and synchronize an on-premise AD with the cloud.
Creating an Azure Tenant
First, you need to create a Microsoft Azure account, which has a completely free option.
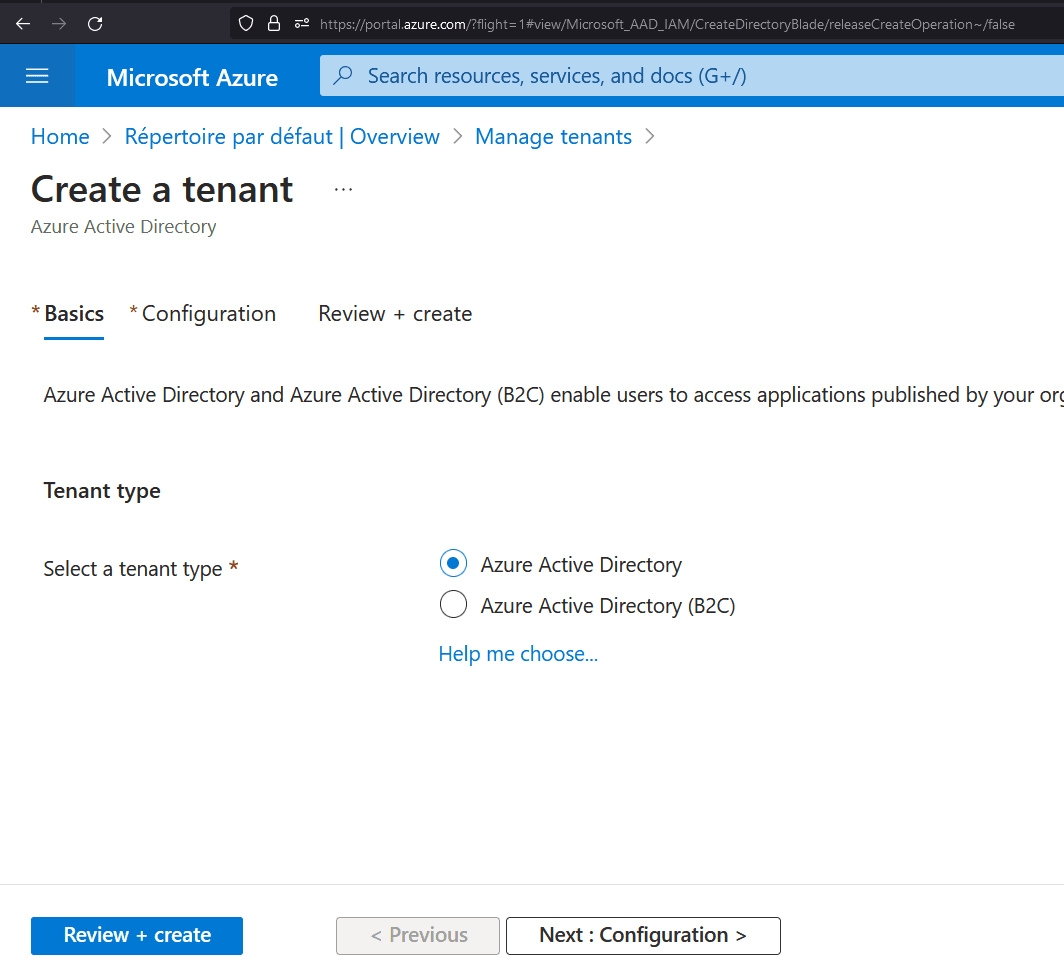
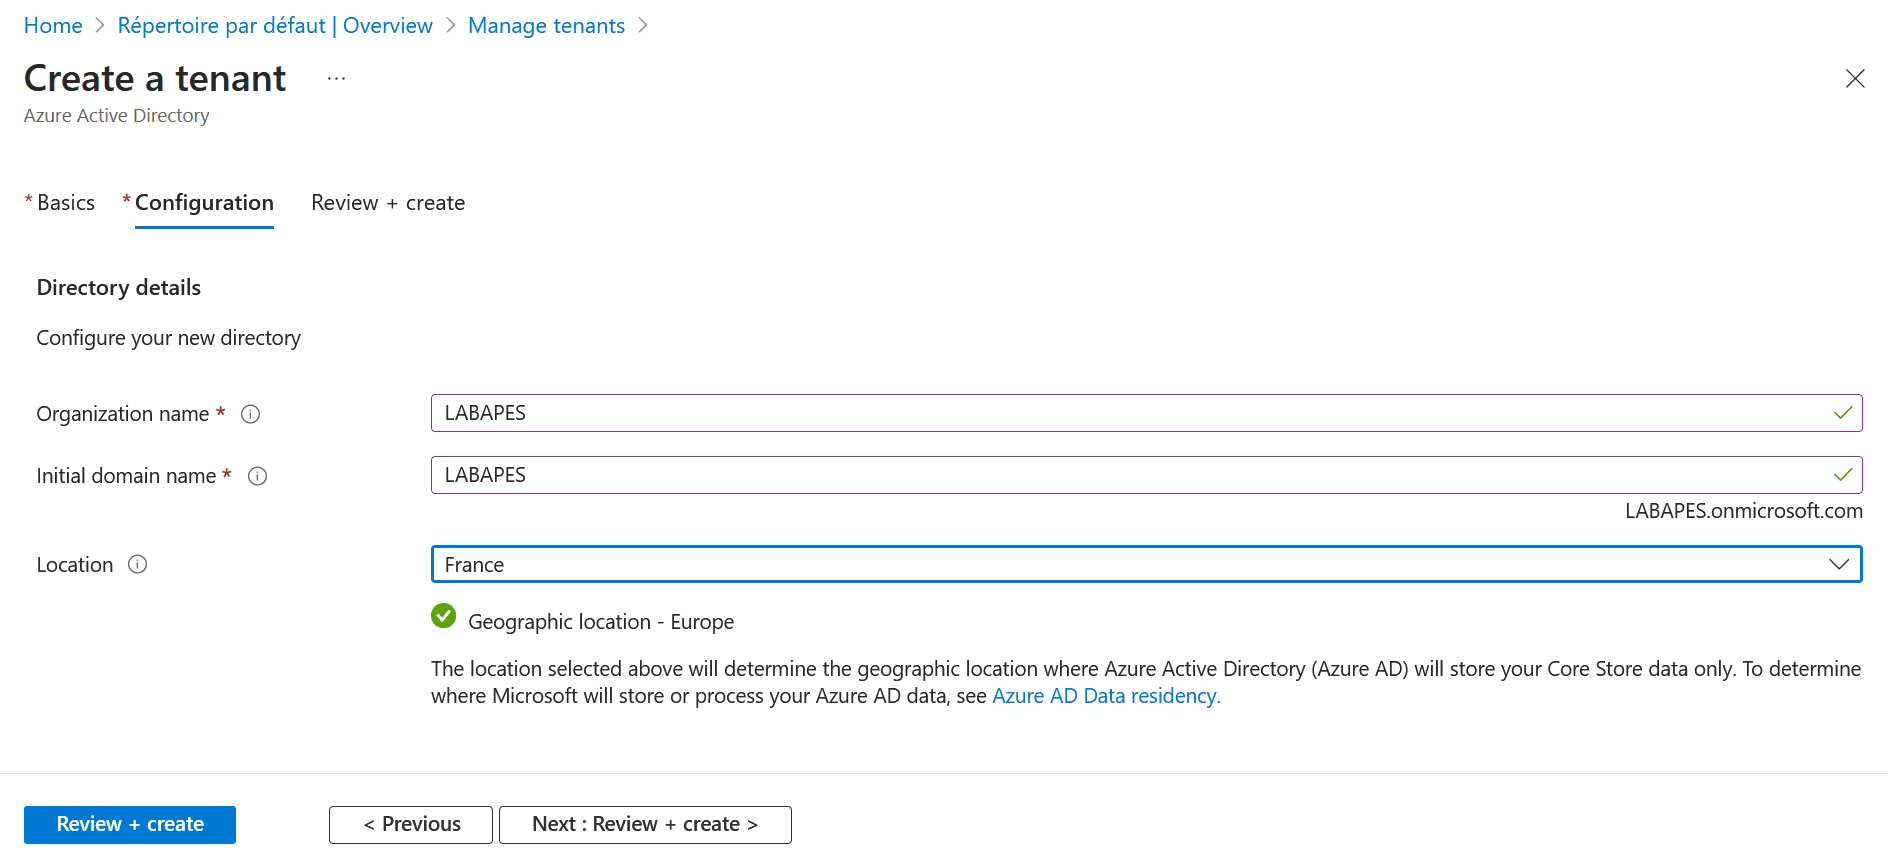
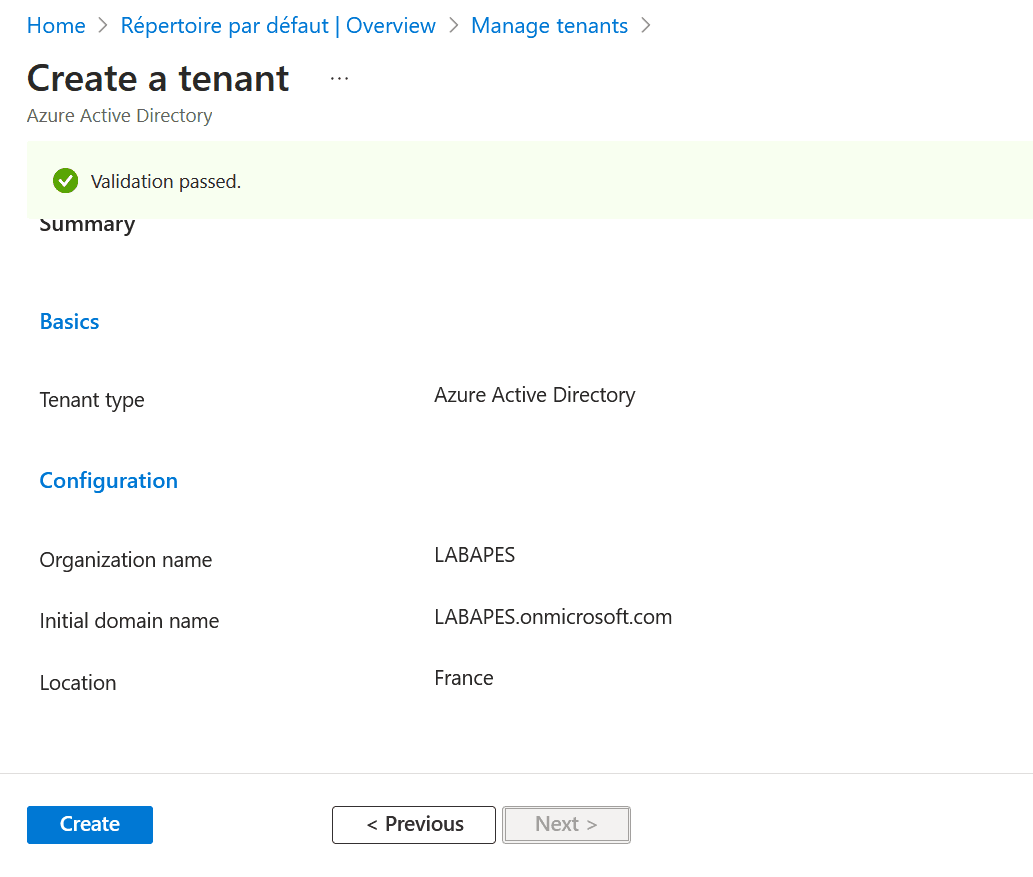
Then, go to the portal https://portal.azure.com to create a new Azure AD "tenant."
Creating my first account in tenant
Once in the new "tenant" on the portal (if not already done), create a new user. This account will be used to synchronize the on-premise AD with the "Azure AD" cloud.
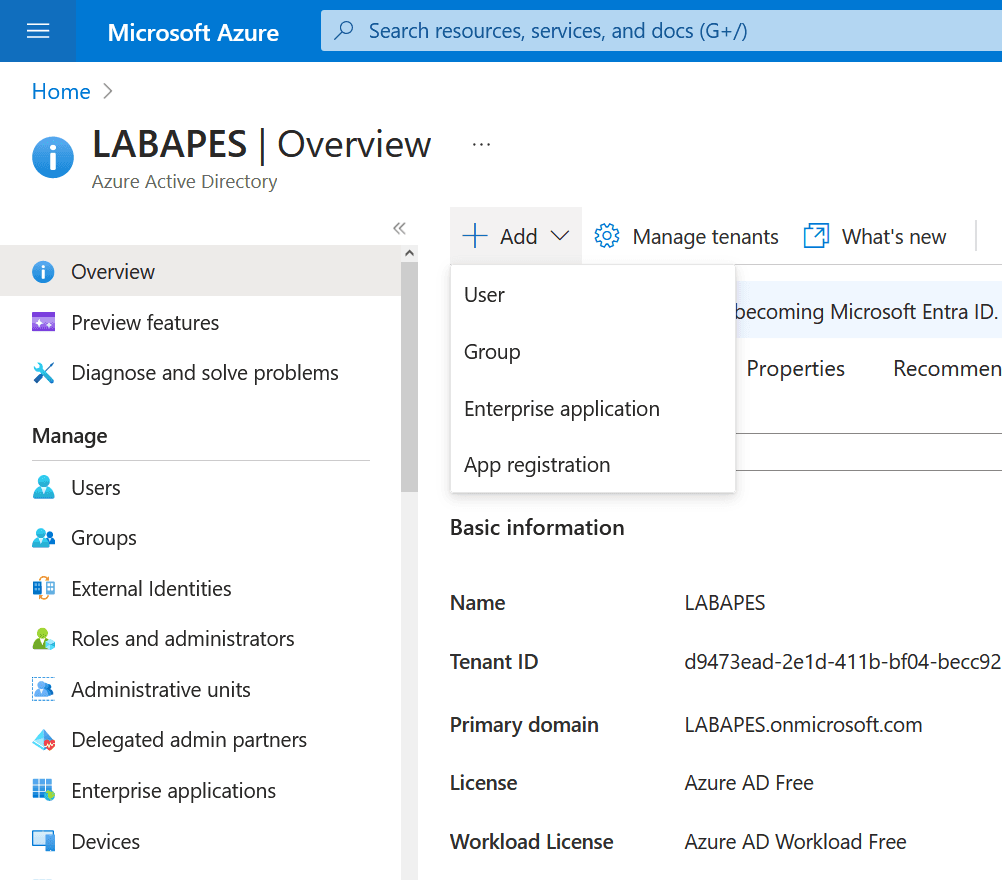
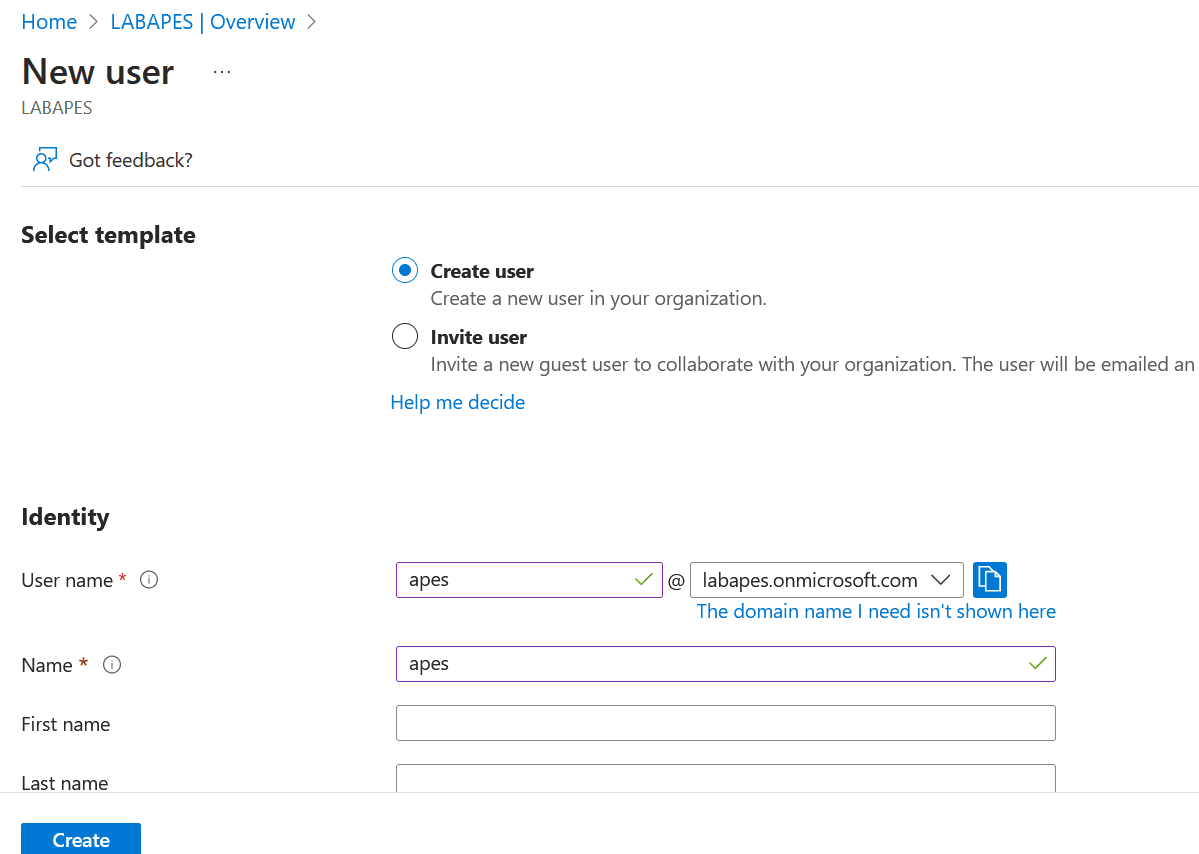
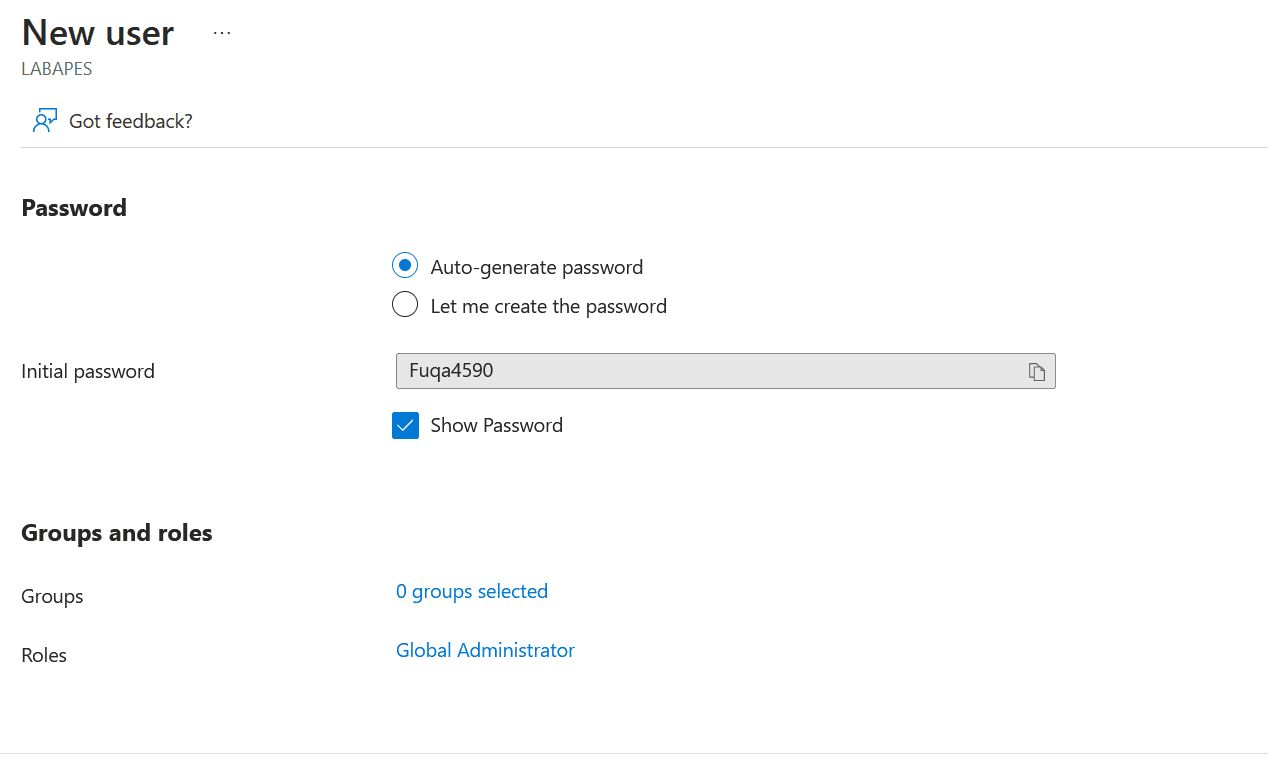
Once the user is created (this will take 1 to 2 minutes), copy the user's UPN. For example: apes@labapes.onmicrosoft.com.
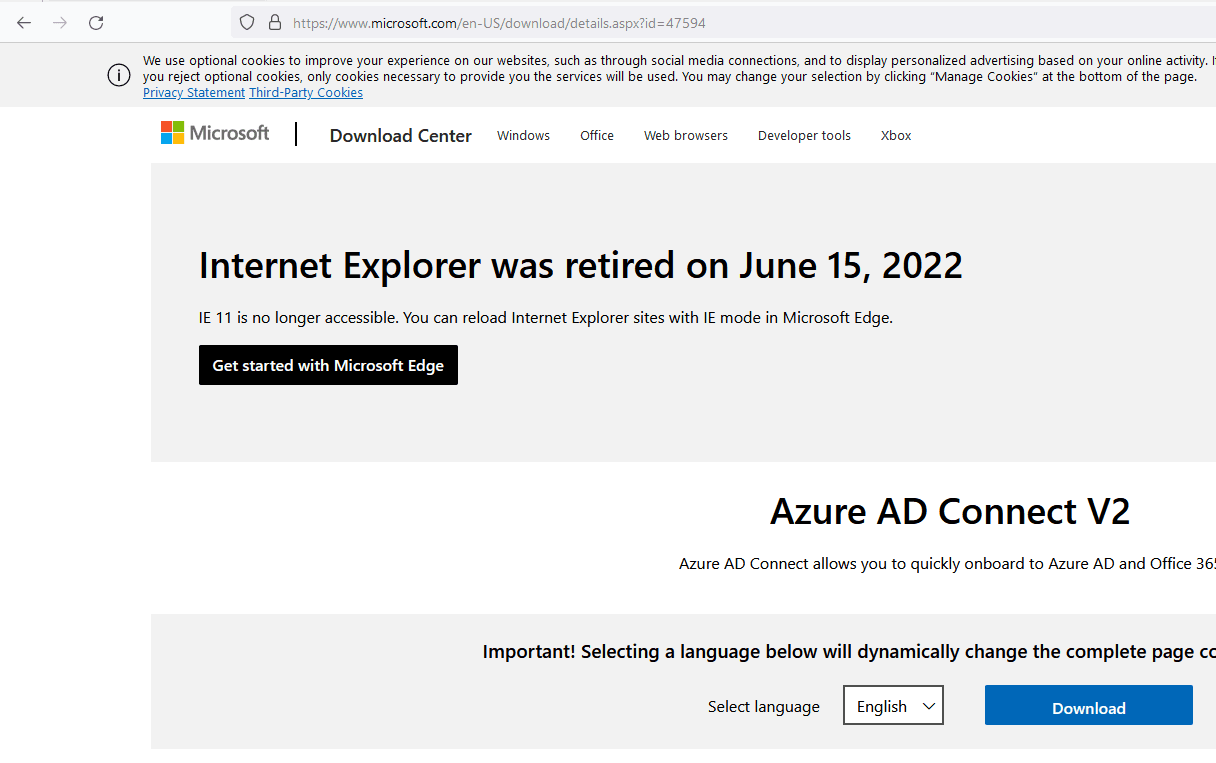
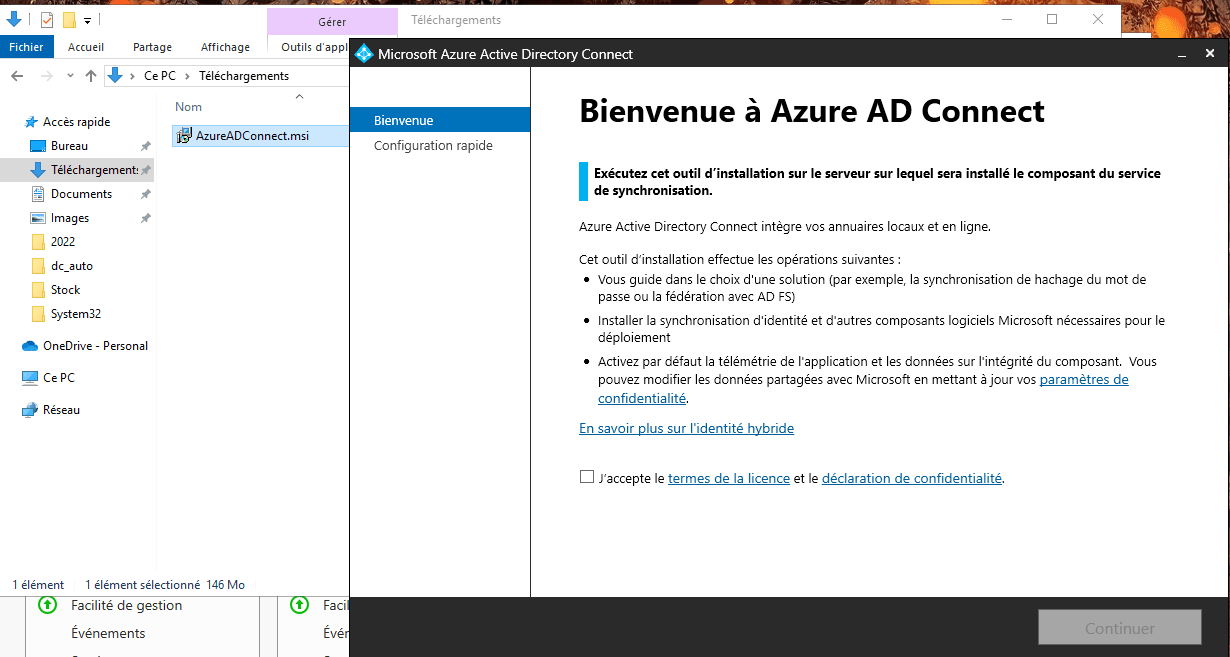
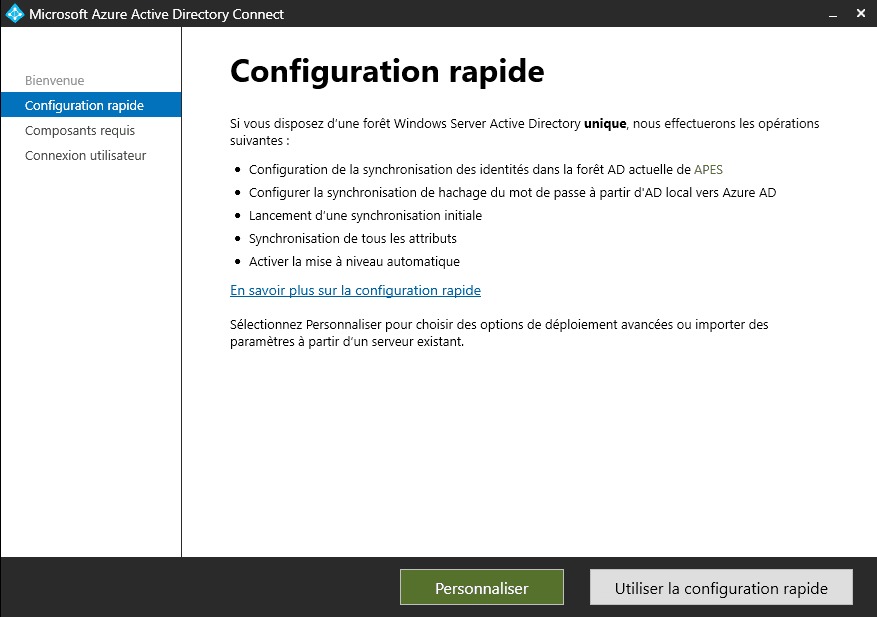
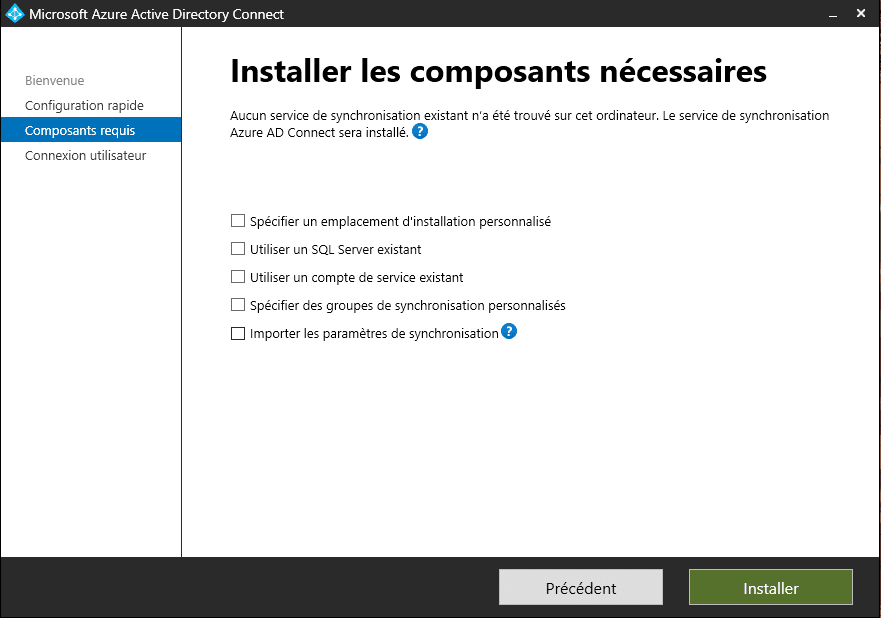
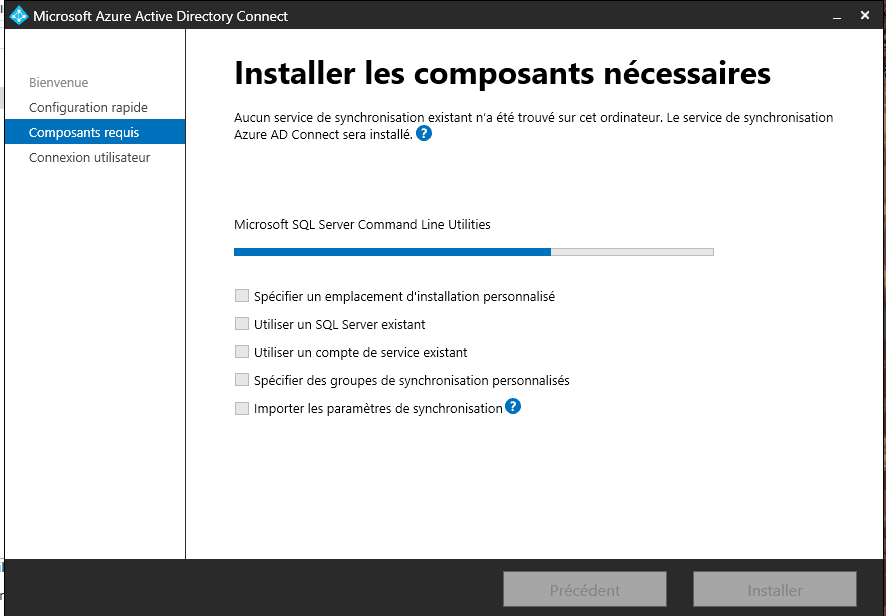
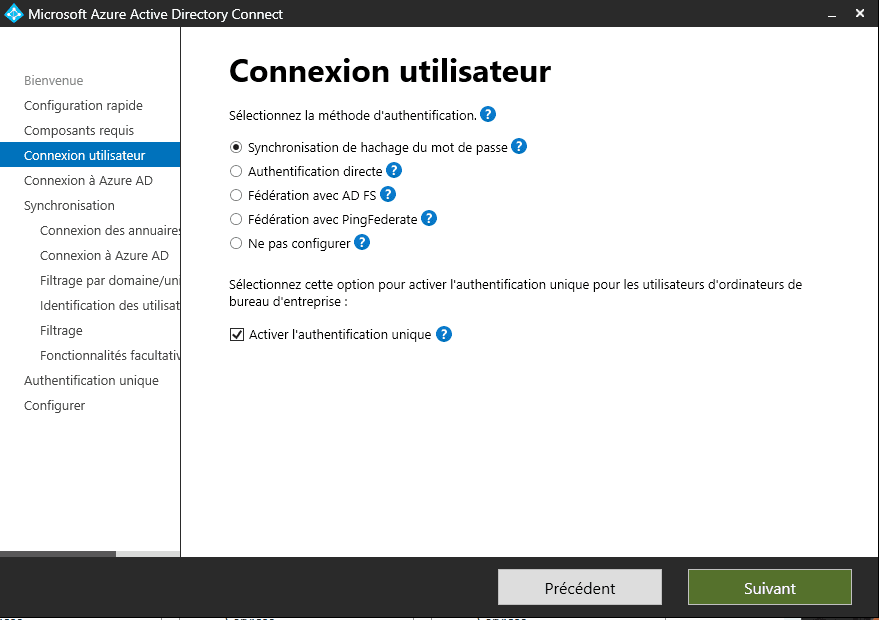
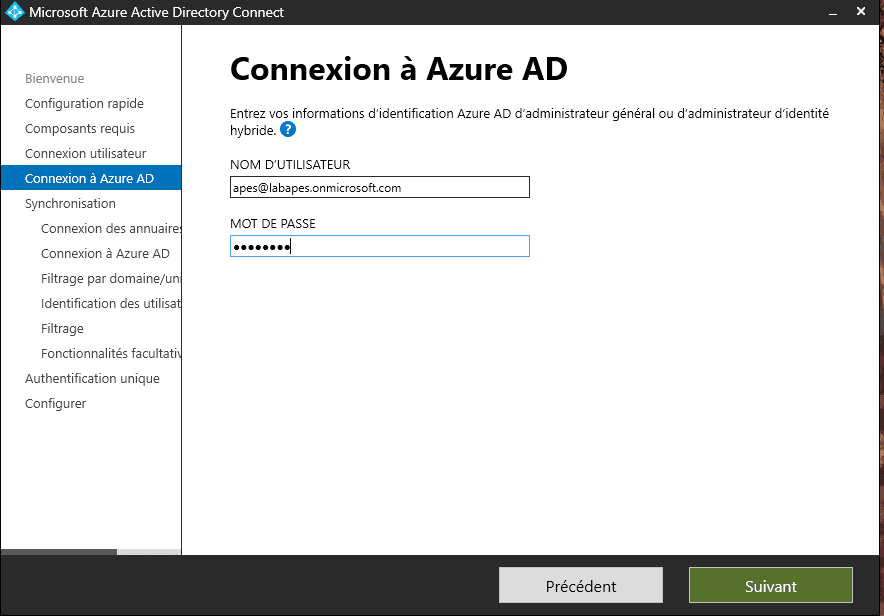
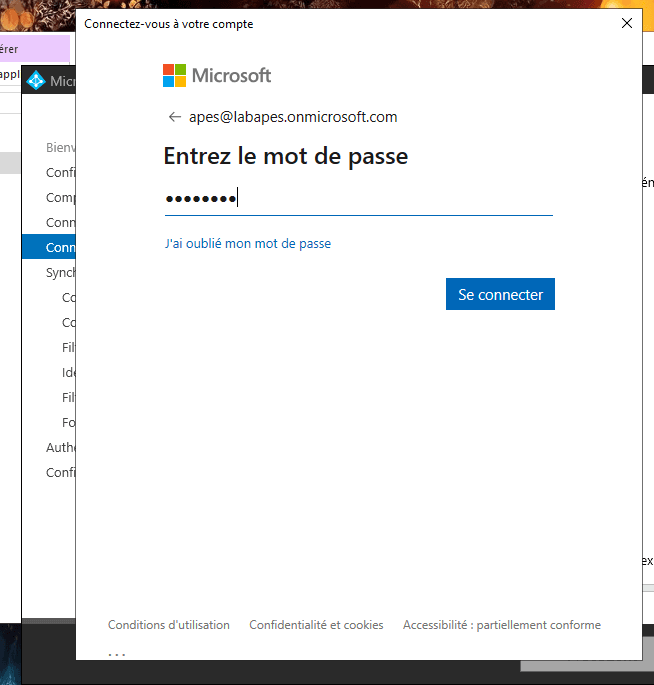
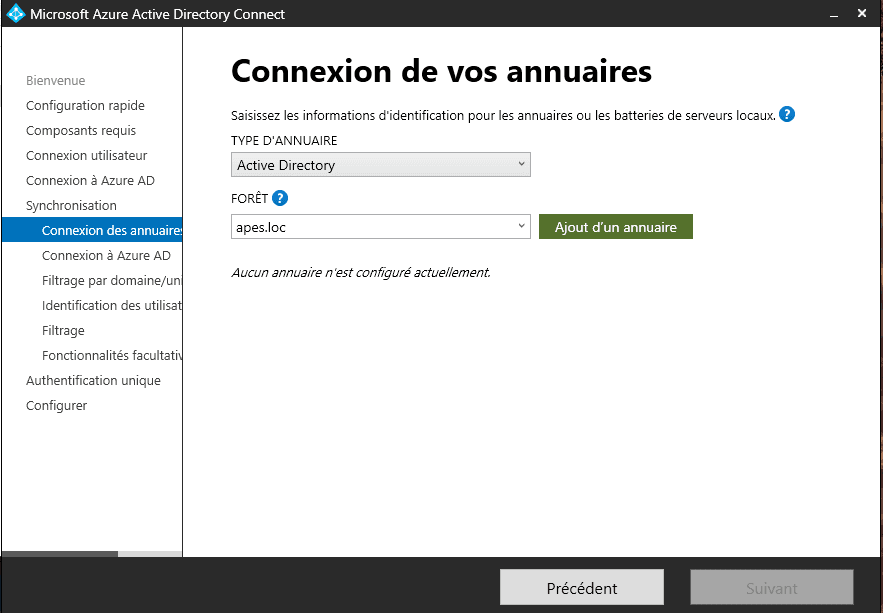
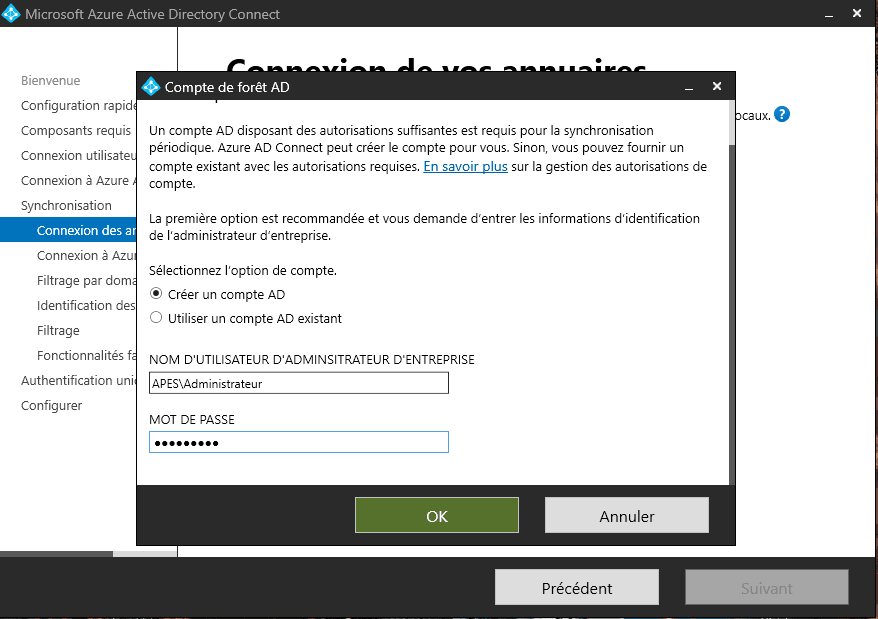
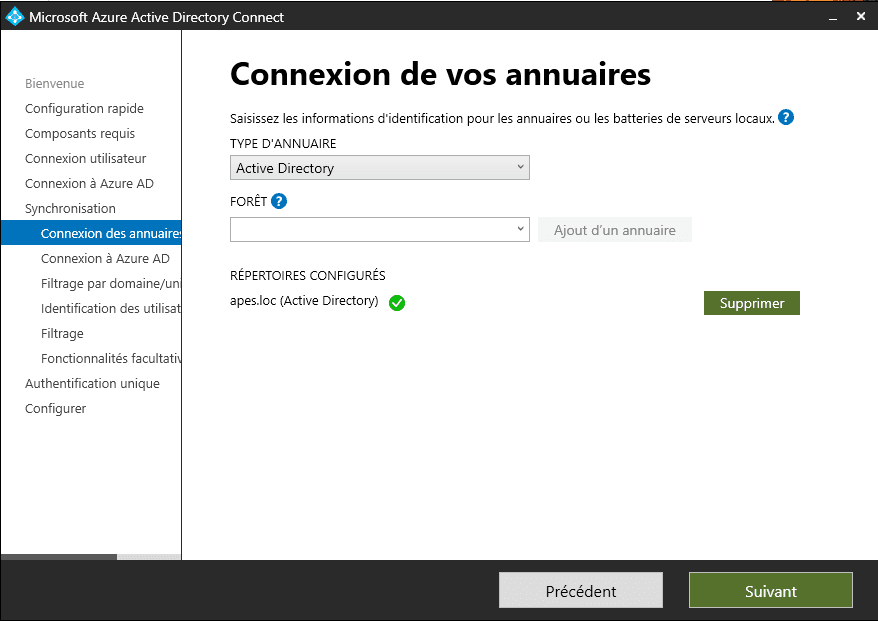
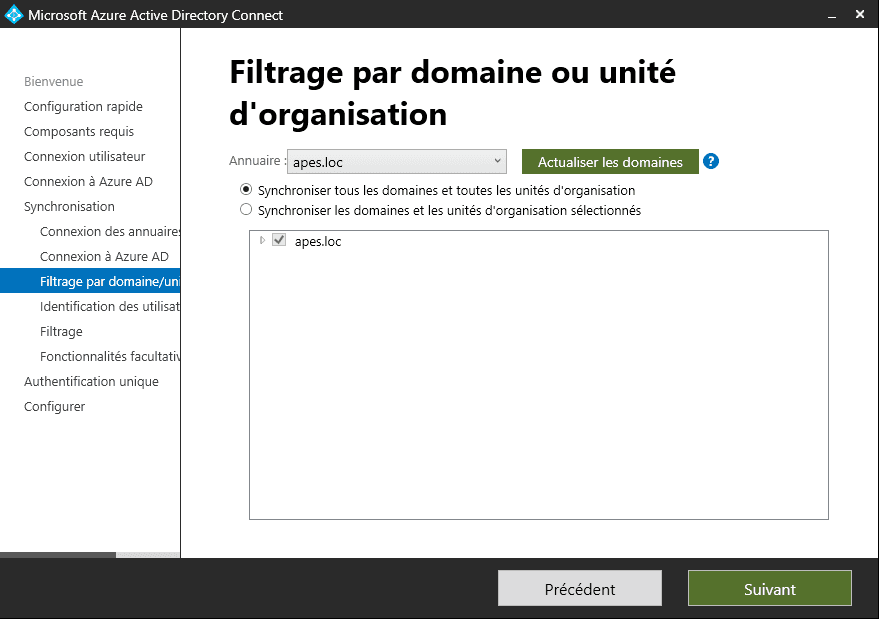
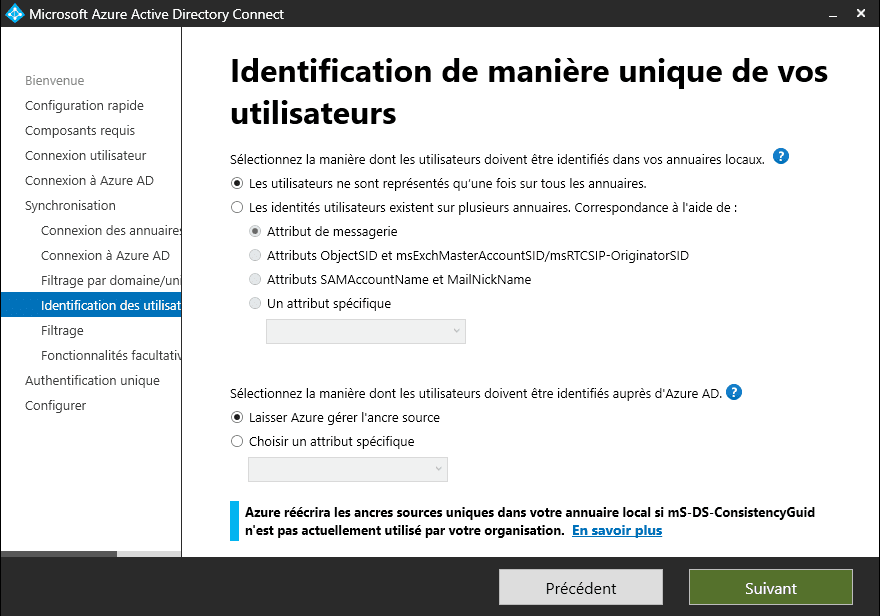
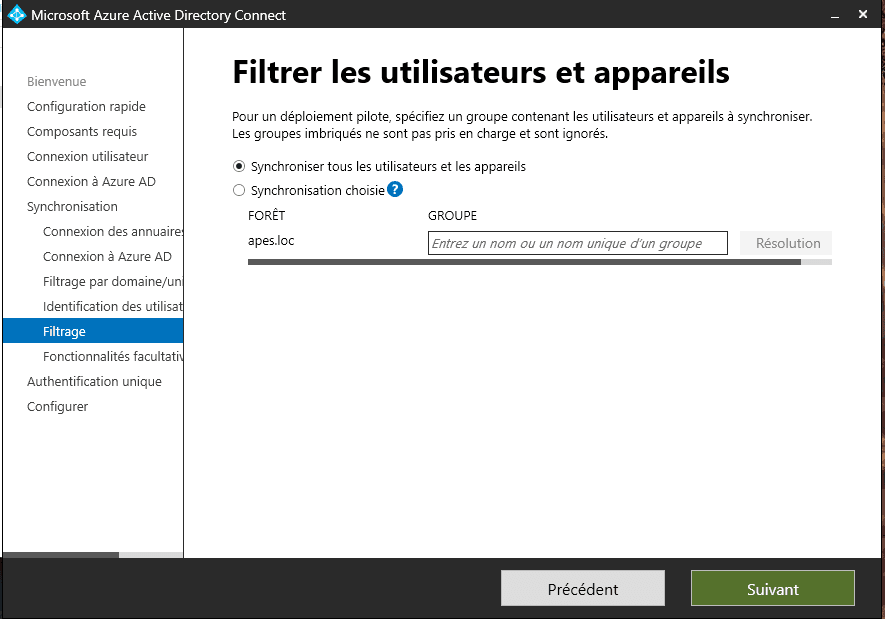
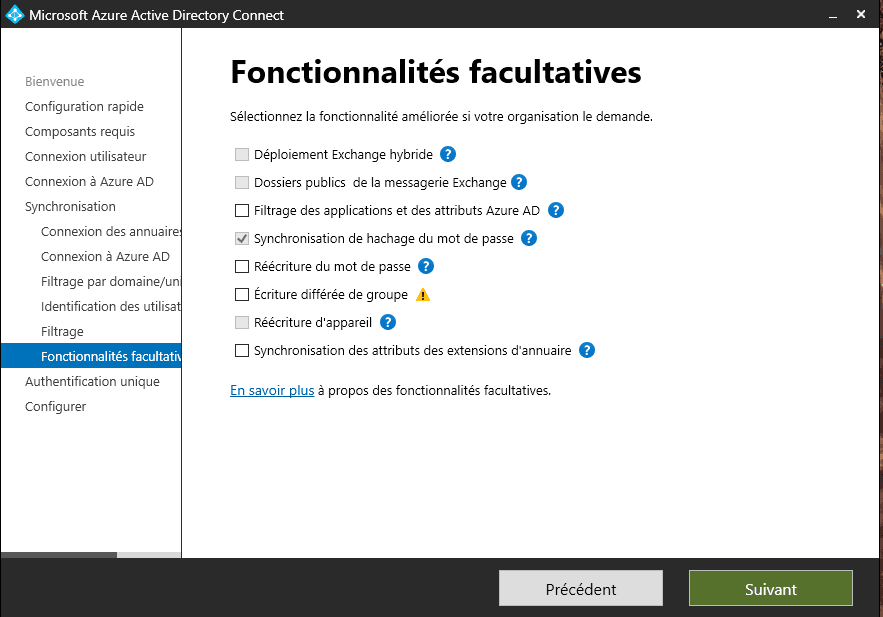
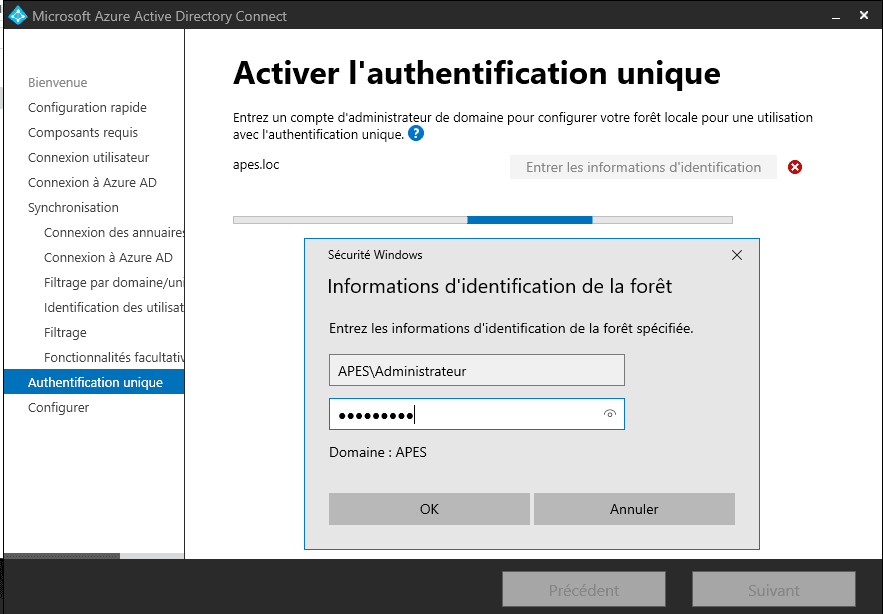
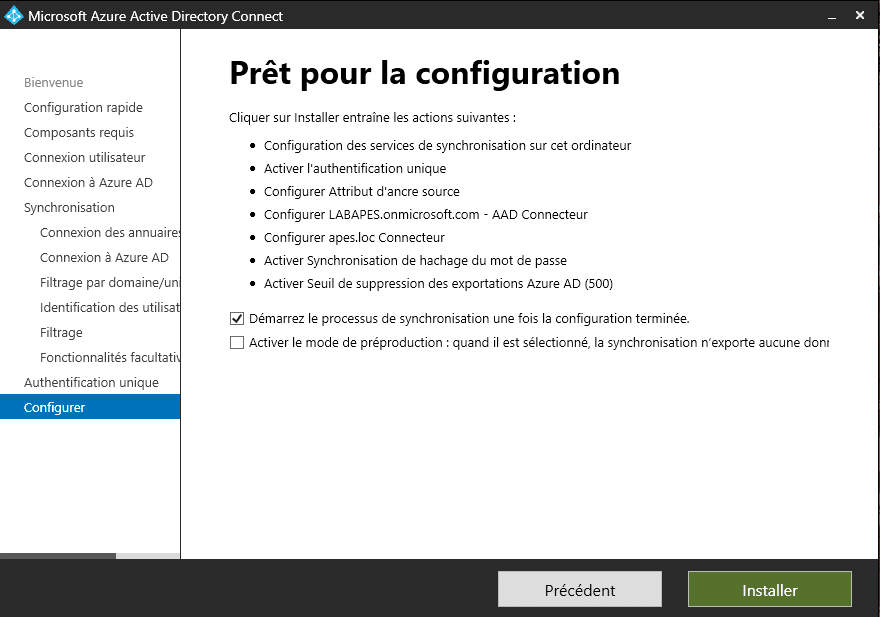
Setting Up Azure AD Connect
For the installation of Azure AD Connect, I simply used the default settings.


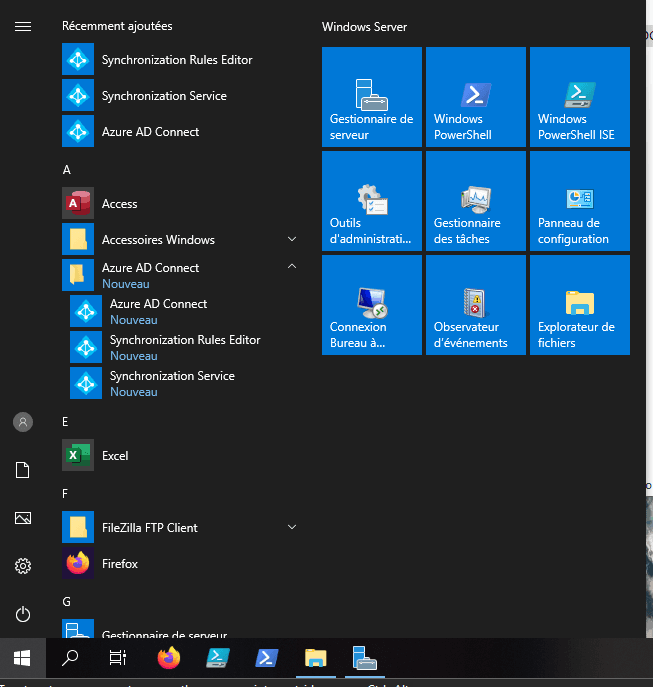
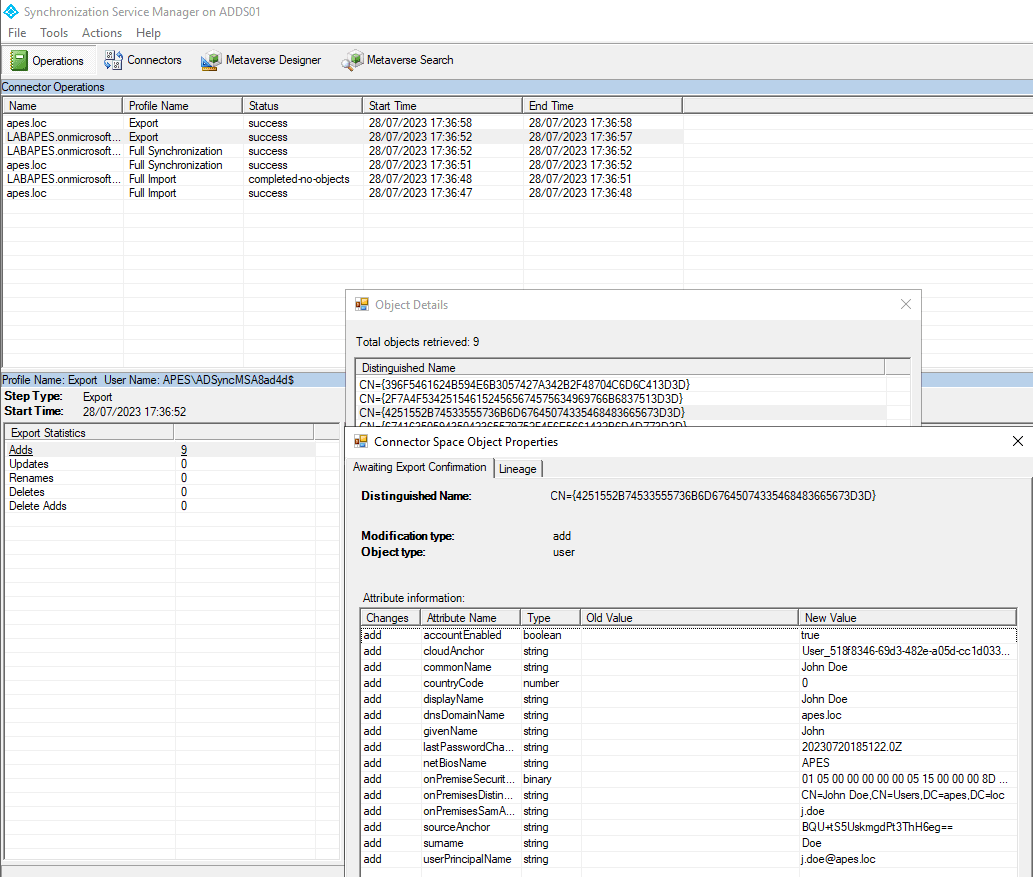
Azure AD Connect Synchronization Service
Once AAD Connect is configured, launch the "Synchronization Service" software to check the synchronization logs between the on-premise AD and Azure AD.
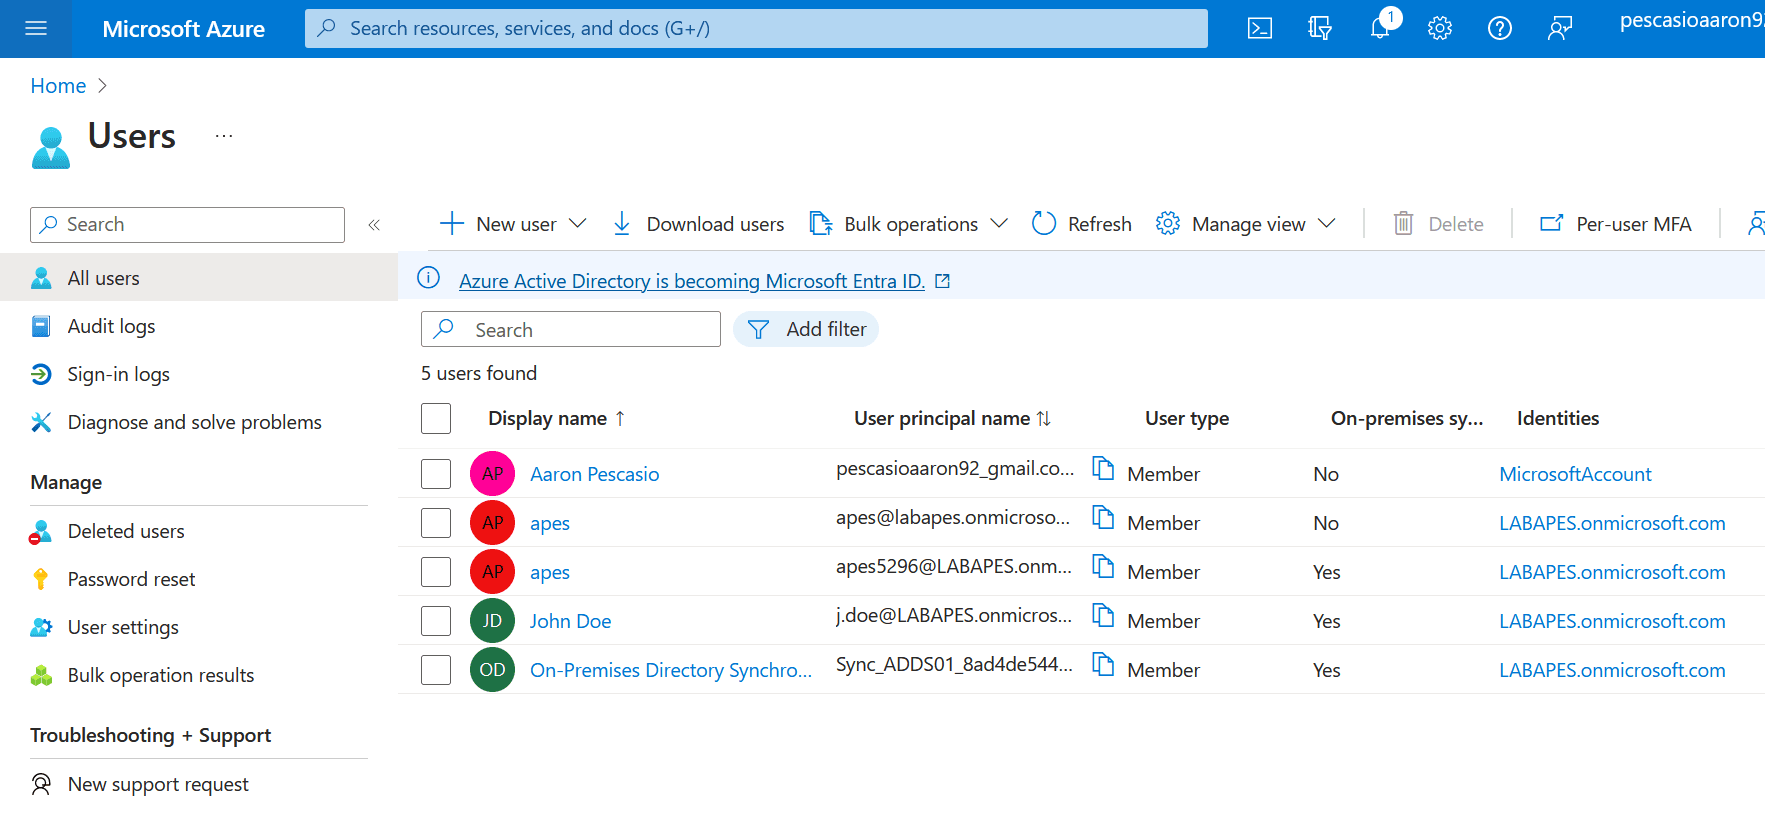
You should see "success" operations there. You can also verify in the Azure portal that the users have been successfully synchronized.
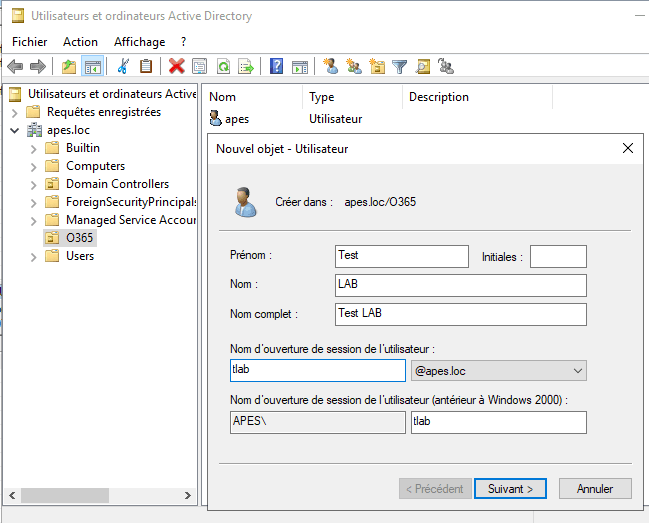
Creating an account in AD on-premise
After these verifications, you can test creating a new user in the on-premise AD and force synchronization using the command Start-ADSyncSyncCycle -PolicyType Delta.

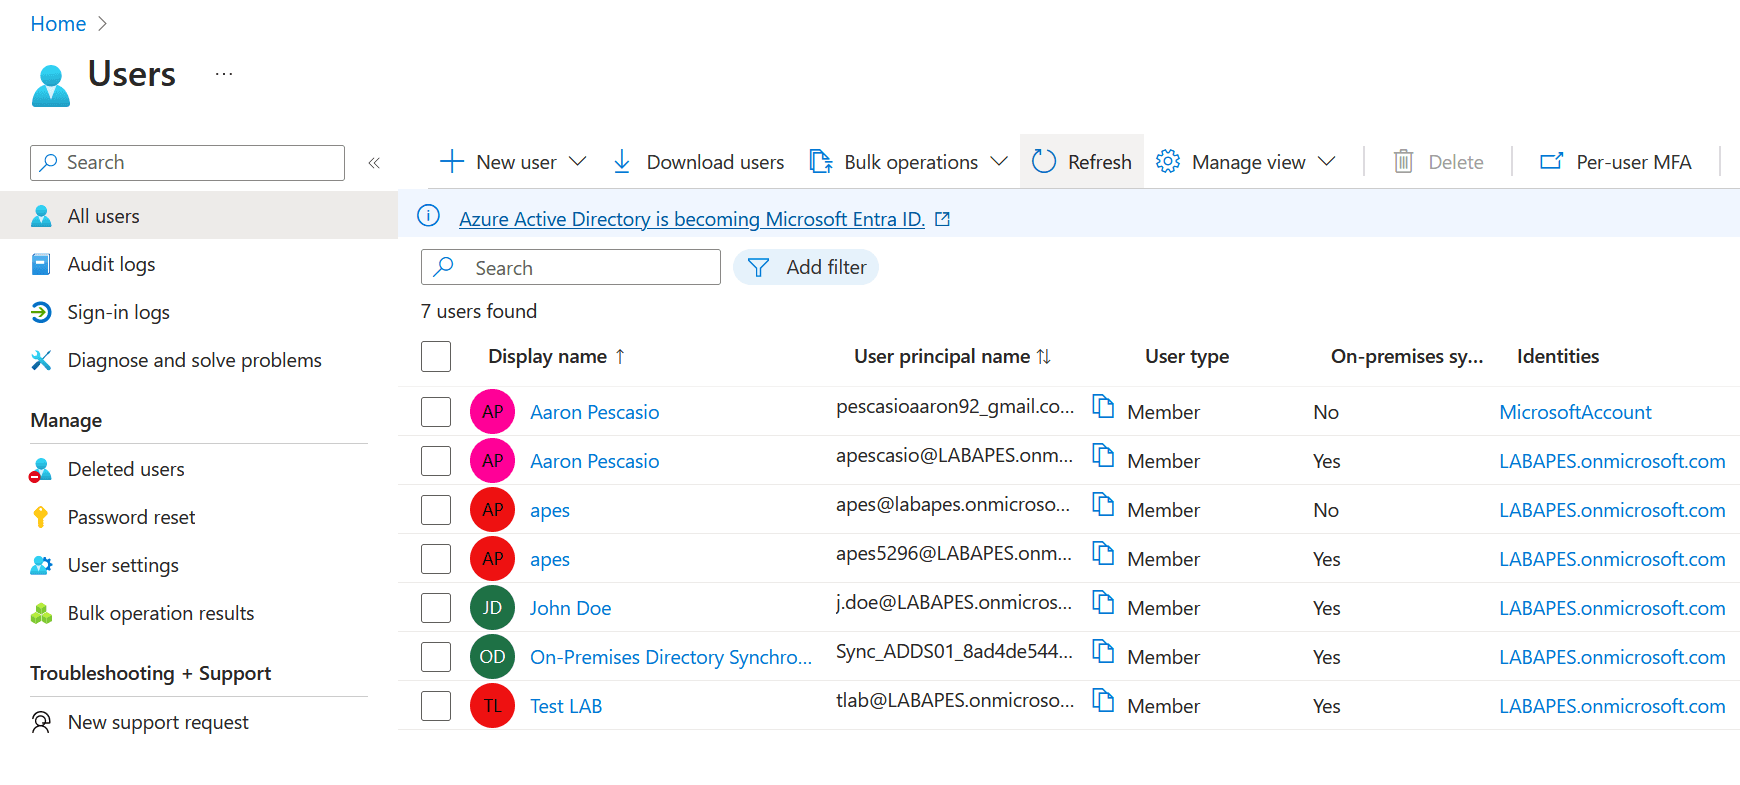
Everything works correctly, and we can see the new user!
Last updated on: